Thursday, April 26, 2012

Put a Little Color In It

When we moved in our home we were brown-happy.  Everything we own and put in our living room is some shade of brown.  I love it but was ready for some color.  I got to it this past weekend. I picked up the spray paint Friday night and got busy. 


There were some items in the living room that were from our old town home and I felt like I could paint them and if they did not turn out, hubby would not be too mad with me.


First up to bat: this hurricane lamp (is that what this is called?) I taped off the glass part and teal it became.  I wanted to add some teal to the living room so I thought the spray paint would be the prefect (and cheap) way to accomplish this.

IMG_1702 copyIMG_1962 copy

I’m not too happy with the results, but I do like how the colors pop against the walls and on the rustic table.


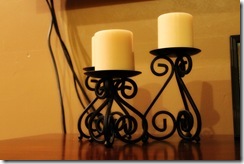
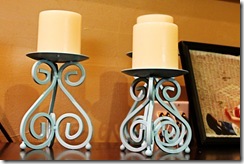
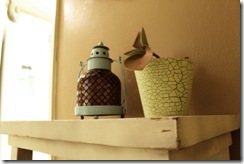
Second up:  candle stick holders.  I loved the scroll work they have but I thought the black looked a little dated, plus it was kind of boring to me…so teal they became.

IMG_1703 copyIMG_1964 copy

I love the results this one had.  The teal on top of the tv stand really pops but without being overwhelming. 


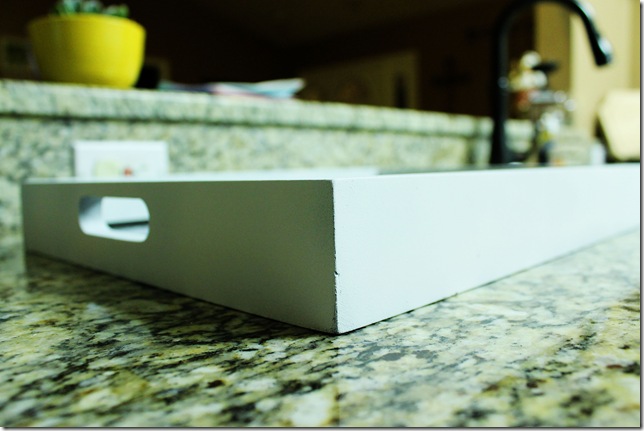
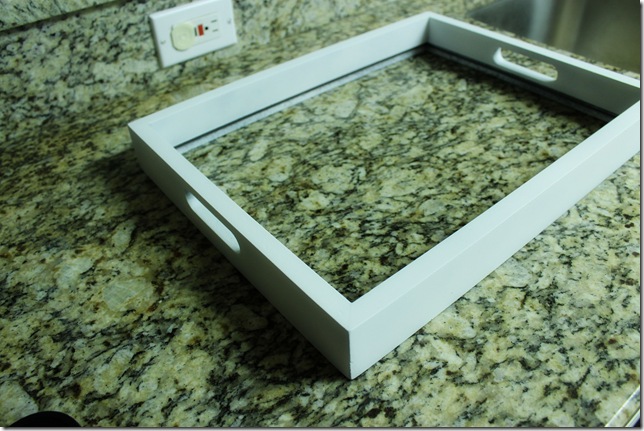
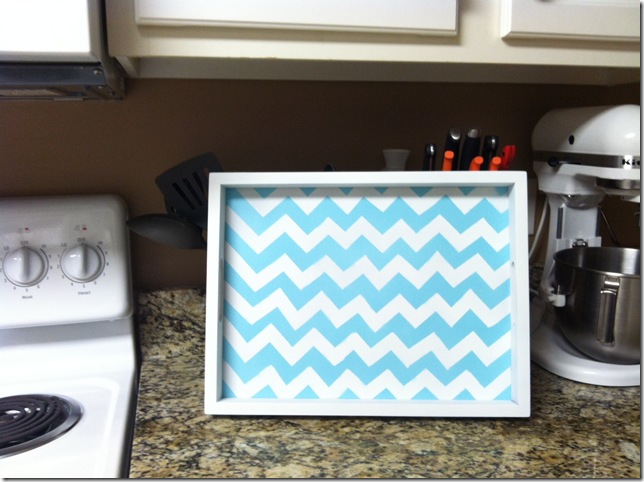
Next: my tray…this is my favorite of all projects from this past weekend.  Unfortunately I was so eager to get started on it, I forgot to take a before picture for ya.  But picture this: it was a dark brown color with a glass bottom that held four 4x6 pictures of our little man’s  3d/4d ultrasound…awe the memories!


First thing I did, spray paint the entire thing white.  Including the glass (actually the VERY first thing I did was take it apart and prime it).  It was a very damp Friday night/Saturday morning so I brought the tray inside to “cure” in the air conditioning.

IMG_1958 copy

IMG_1960 copy

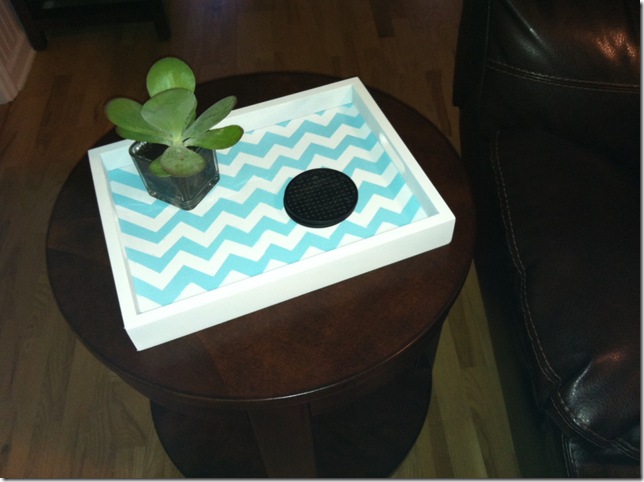
Then it was time for the hard part, I taped off the chevron stripes.  This took me about an hour to do, but it was so worth it in the end.  After I was happy with the stripes, I took that bad boy back outside and spray painted the entire glass teal.  Because of the dampness, I let it sit all night.  First thing the next morning, I removed the tape and tada!

photo 1 (1)

I honestly am in love with it.  I could not wait to stage it.  I am still on the hunt for some other little things to add to the tray but for now, I’m loving the simple-ness so everyone can see the hard work I put into it.

photo 2 (1)

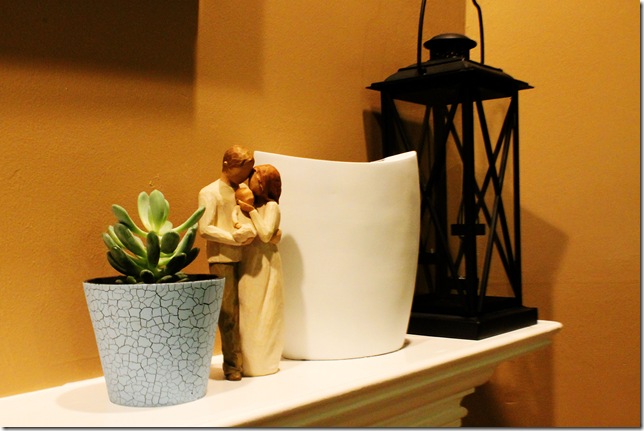
Last: the vase.  Again, no before picture…shame on me!! But it was a bronze metal vase.  I love the shape of the vase but again wanted to add some color.  So I painted it white.  I’m not loving how plain it looks now…so the wheels are spinning and I am sure soon this vase will look very different.

IMG_1968 copy

I’m working on adding some yellow, some where and somehow…this just might be the place.  We shall see!  I’m really enjoying all the pop of color that I have been able to add to the room, it has made a huge difference and it sure is starting to feel like home sweet home!
Wednesday, April 25, 2012

Down on the Farm

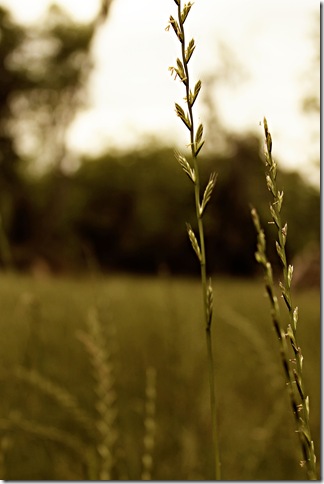
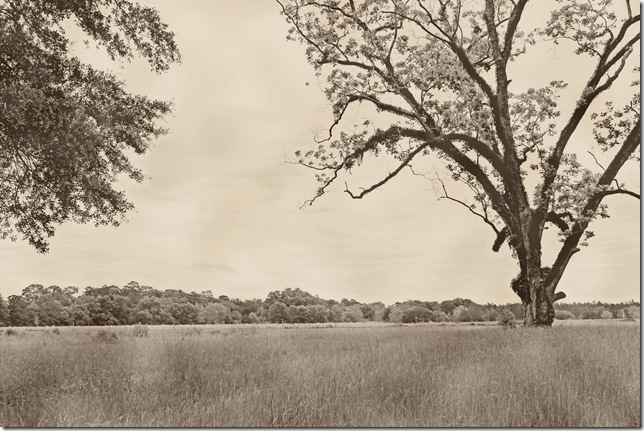
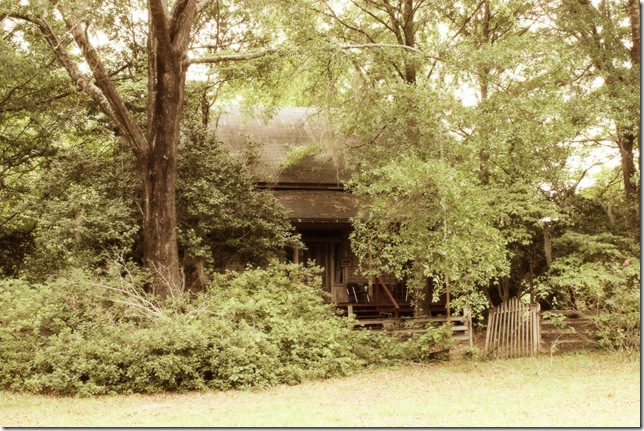
If there is one place I LOVE taking pictures of, it is the farm.  I love the grassy field, the trees, the old cars, the old wood barn, the farm house, the fence, the gate, the dirt roads, I LOVE taking pictures our there.  They are just my style.  I was so anxious to get out there and practice with my new toy.  I took some pictures I really loved, but also realized a lot of things I need to work on…SCORE!  Learning something new every time I pick up my camera is exactly what I wanted.
IMG_1717 copy

I have found that I prefer close up shots.  Like the closer I can get to my subject, the better.  Although I have to say I kind of like this one too.

IMG_1730b

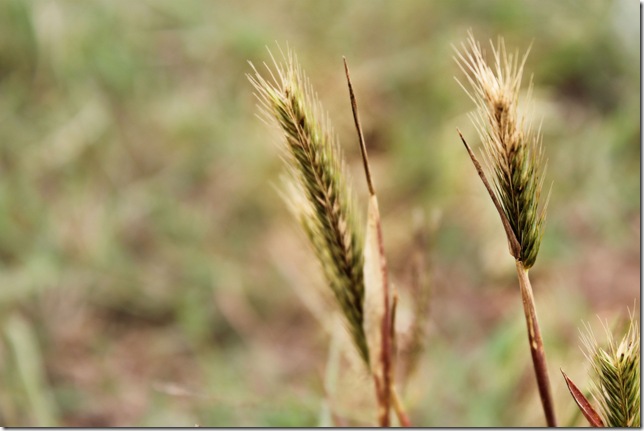
See what I am talking about!?  I love that you can see the texture of the grass blades.  Yes, my hubby thought I was loosing my mind as I laid down in the grass to get the right shot that I was hoping for…gotta do what ya gotta do right?!

IMG_1732 copy

Those trees…oh those trees. 

IMG_1755 copy

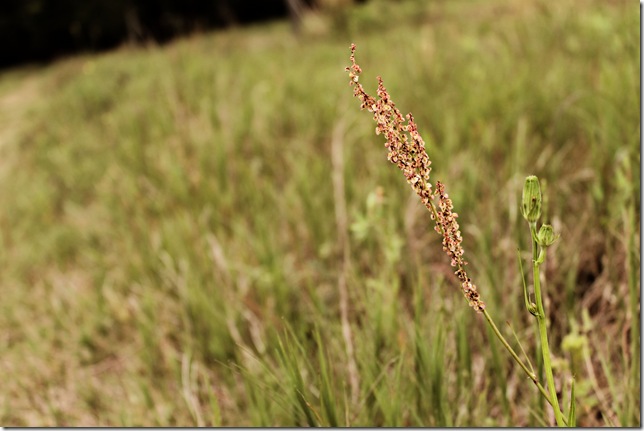
I am not sure what type of weed this is, but it is so pretty.  In fact I think we had some fake ones in our house when I was growing up.

IMG_1763 copy

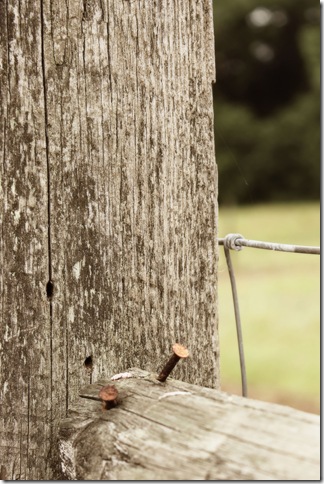
The rusted nails made for an interesting picture.

IMG_1777 copy

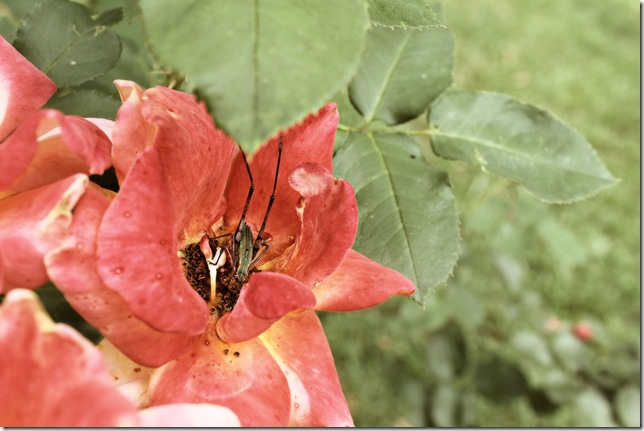
I’m not a berry fan, though I have heard snakes love them.  But the red from the berry stood out against all the green in the field. And there was a bug to focus on so that made it even more fun for me.

IMG_1780 copy

More grass.

IMG_1790a copy

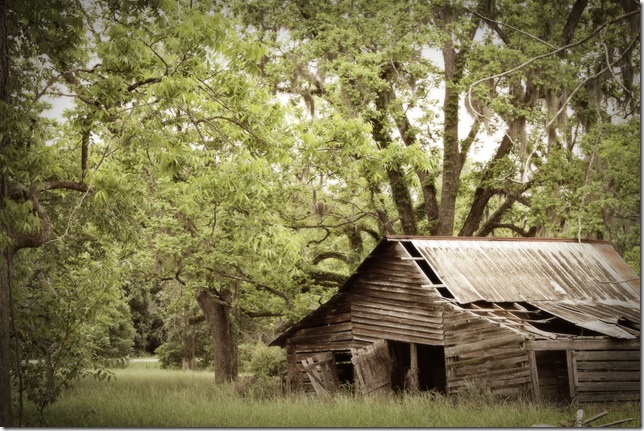
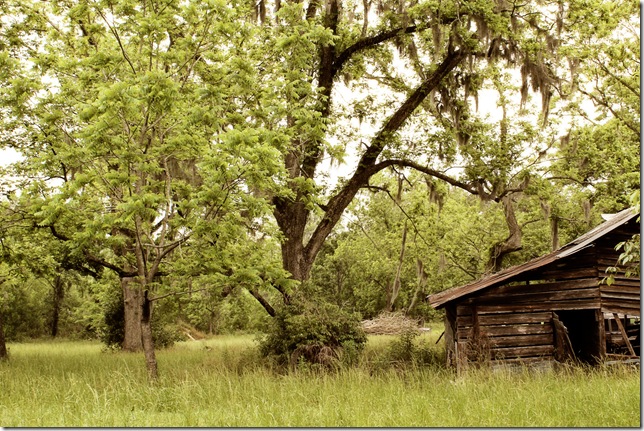
The barn, my favorite to shoot.

IMG_1793a

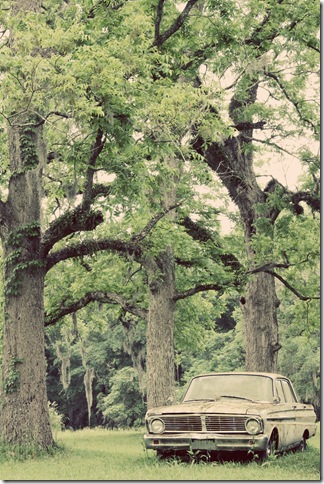
Old car, hubby told me this car he used to drive around the farm, way before “driving age”.

IMG_1798 copy

Barn again.

IMG_1801 copy

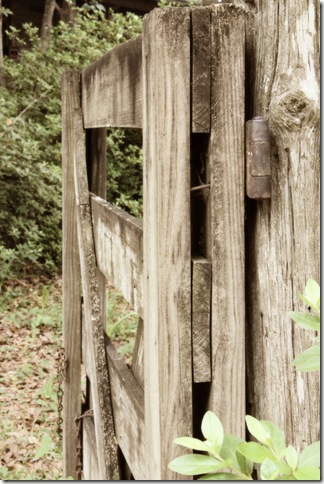
The gate.

IMG_1804 copy

Hard to see but there is a farm house behind all those trees.

IMG_1815 copy

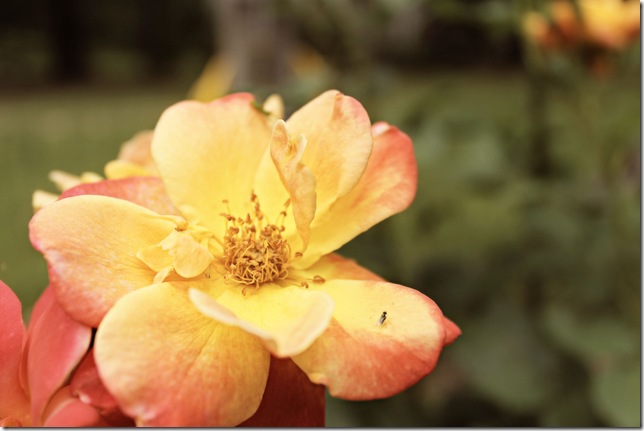
My MIL has the biggest Rose bush I’ve ever seen…and I do not think she does a whole lot to it.  But the blooms on it are amazing.  I think she said she counted about 76 roses.

IMG_1818 copy

IMG_1835bw

This puppy had my heart.  He/she (because I cannot remember which one this is) kept sticking their nose through the fence wanting me to pet them.  So sweet!


There are talks about cleaning up the farm, this makes me sad.  Sad only because I LOVE taking pictures over there so much.  But I understand the reasoning behind it, I just hope after the cleanup there will be something to replace my favorite picture taking spot so I can continue to take pictures *wink wink*

Tuesday, April 24, 2012

Weekend Wrap Up

This past weekend was very fast but very relaxing too.  Friday night we enjoyed a date night.  I did not get any pictures because, well I was enjoying a night out!  It is so nice to have a night just for us to be us and let the kids go be kids with the grandparents. 


Saturday we got up and wasted about two hours of our life waiting on an oil change.  Tell me this, why does EVERYONE get their oil changed at the same dealership as me and first thing Saturday morning?!  Really, I know that is not the case but man it sure felt like it this weekend.  After the oil change, we headed to the farm…I could not WAIT to get there and start snapping pictures.  I have kind of become obsessed (more so than before) with taking pictures.  I have some really awesome ones of the actual “farm”, those will come in another post.


For now I want to share our “family” pictures  that I took out there. 

IMG_1715 copy

When I went shopping with my MIL and picked up my succulents, she also picked up a few plants of her own…this one being my favorite.  I am not sure what it is but I thought it was so pretty.

IMG_1848 copy

Mr. Handsome Smile I cannot help but think he is so perfect!

IMG_1888 copy

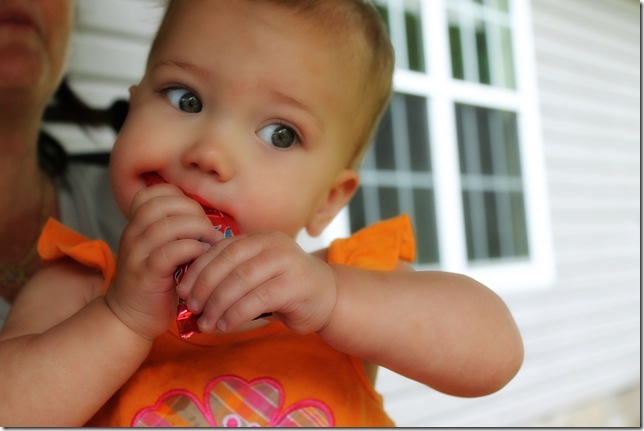
She is pretty perfect too…although in a different way.  This is what she likes to do best, eat!

IMG_1908 copy

See, what did I tell ya?!? Baby girl eating again.

IMG_1922 copy

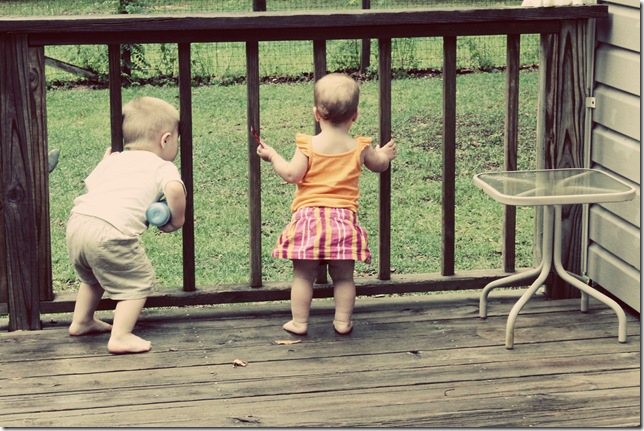
Looking for their Papaw.

IMG_1924 copy

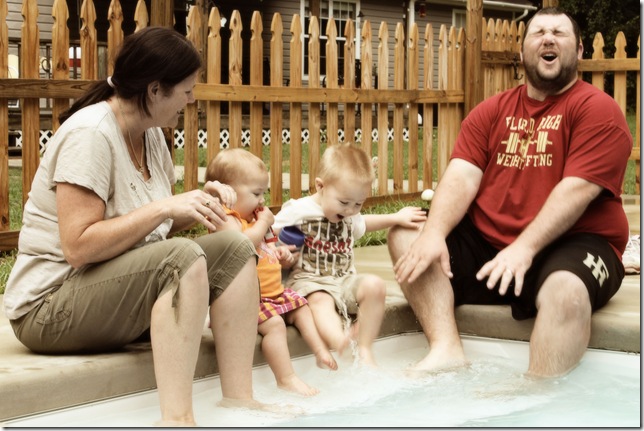
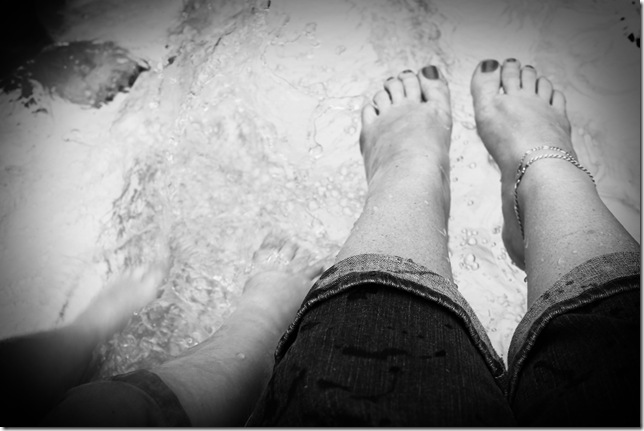
We had the intent of jumping in the pool real fast while we were there picking the babies up.  However, Saturday it STORMED!  We walked outside in between storms and was just going to put our feet in the pool.  However little man decided he was going to just get on in.  Clothes and all.  Daddy had to join him, then babygirl and Nana.  But they had fun playing in the rain, in their clothes, and in the pool.  Because it was raining, I did not get many pictures and the ones I did get were taken quickly. 

IMG_1932 copy

IMG_1943 copy

IMG_1955 copy

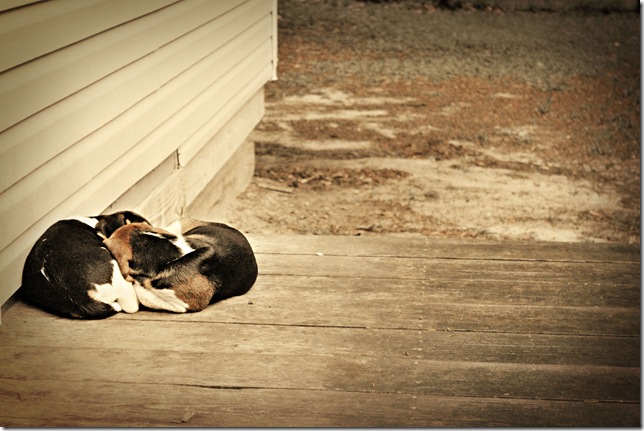
These are the new puppies.  Latest addition to the farm.  They have a place to get out of the rain, but they were happy curled up together on the porch.  So sweet!

Friday, April 20, 2012

Friday Five

Ok, so did that take forever or is it just me? I feel like this week took two weeks to get through. But thank God it's finally here. I'm looking forward to some relaxation this weekend and two exciting projects that I have put off for about a month now.

On to my challenge to myself, Friday five:

One: I read an article at the beginning of the week that talked about how moms see things in pinterest or Facebook, or blogs, about "parenting" and they compare themselves to what they see/read. I am guilty for this. But I read this article that says your children want YOU not sandwiches snapped like hearts or lunches that coordinate with what they are learning in school. I learned they just want you and your attention. Some times this is very hard for me, especially during the week when I'm cooking and bathing them and putting them to bed...but I do my best and that's all I can do!

Two: my new favorite food is cinnamon rolls. Fresh, hot, home made ones to be exact. In fact I've made them twice this week.

Three: my weight doesn't matter...actually it does but after eating 12 cinnamon rolls I have convinced myself to not get on the scale.

Four: I have a new found love for McDonald's. Typically I waste my lunch sitting at my desk but this week was rough so I made myself get out and go to the mcdonalds by my office. I found out they now have free wifi...hello pinterest during lunch!!

Five: my newest most favorite app- Tadaa. this is like instagram but different filters. I personally like the filters better in Tadaa but I like the privacy settings better in instagram. In fact there are no privacy settings yet for Tadaa. The app is new and they are working on many updates. But I have found a way to take the pictures use the filters and save without everyone seeing your pictures so if you are interested leave me a comment with your email and I will email you with my ideas. Oh, and the camera is HD so the pictures are very clear!

Here are some of my favorite pics from the week using my new app.

Hope you all have a great weekend!!!

Thursday, April 19, 2012

New Decorations- Repurpose Shutters

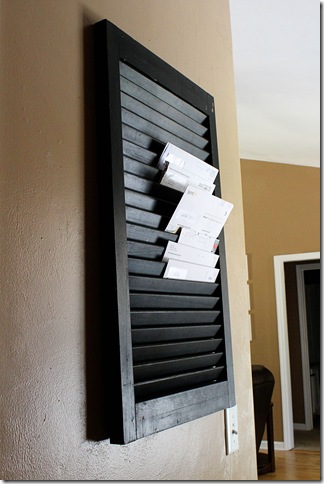
Have you seen all the shutter repurposing ideas floating around Pinterest?  I saw one a long time ago when I first signed up for Pinterest and fell in love.  The project repurposed a shutter into a mail organizer, I loved the look and could not wait to get into our home to hang mine. 

IMG_1561 copy

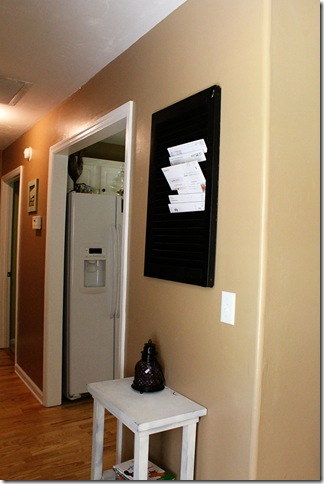
I hung the shutter right in the garage door.  Typically I am the one collecting the mail everyday so this is a nice place to drop it off on my way in the house.  Doesn’t she look awesome on that wall?  I removed the picture that was hanging there because it really does not match our new décor, it is from our town home and matched perfect there.  I have another repurposing idea for it, hopefully I will get that doe this weekend and be able to share with you next week. 

IMG_1563 copy

Here is another picture of the shutter hanging out in the hallway.  This was a simple project I just hung the thing right on the wall.  I am thinking about maybe adding a couple rosettes to it, or something to dress it up some.  But for right now I’m loving the rustic-ness of it.  I may decide to change it up in the next couple of months and add something to it…but we shall see.


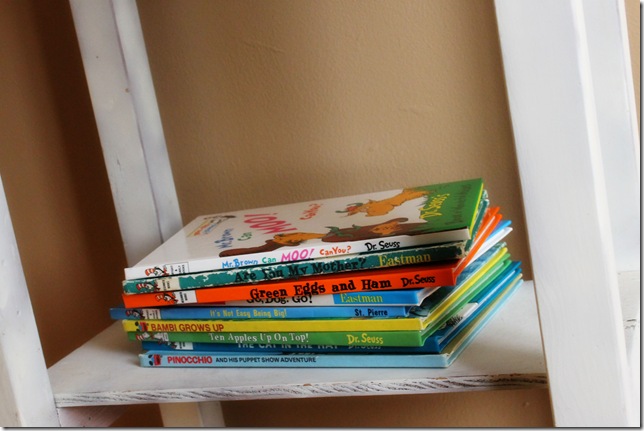
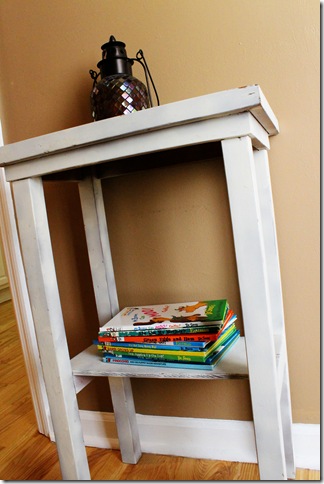
While I was working on some decorating, I added the children’s books to the bottom of this table.  I have been searching, and searching, and searching for decorations for my tables in the living room.  They are so naked and it is driving me crazy.  I want them to be dressed up and pretty, but also kid friendly.  I thought I would use the books as decorations because that way if they played with them it would be ok but this only lasted a day or two and then the books were back in their room…so still searching for kid friendly decorations.

IMG_1564 copy

IMG_1565 copy

I’m so excited that tomorrow is Friday, I’m looking forward to some relaxation this weekend.  I hope to get outside and get some more practice with my new toy. Hope you have a fun weekend planned!!


Oh, and happy Small Friday Yall!

Wednesday, April 18, 2012

Green is Good

As I sit in my living room night after night I have realized one thing, it is too dark!  I know, we just painted this entire house.  I have no intentions of repainting this living room for at least six months a year.  But I did start looking online for ideas of how to brighten up the room.  I came up with several ideas, starting with going green.  Plants are a must in every home, in my opinion!  I think every home should have at least one plant…mine had NONE!!! WHAT?!?!! So I took care of that this weekend.


Saturday we met my mom at the plant sale.  The plant sale (I do not know what it is called, or if it has an actual name) is all native plants for our area so they are more likely to survive and thrive in this environment.  Little man had a great time carrying Gammy’s plants for her, and even picked out a couple of his own.  We (me and little man) went and picked up this interesting looking one.

IMG_1551 copy

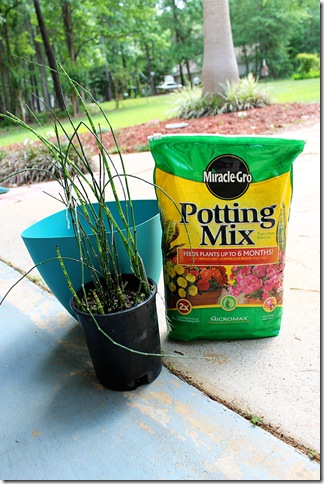
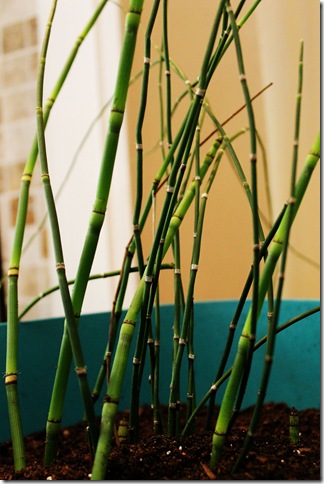
The plant is called a “horse tail” and I stopped by Target on the way home to pick up the pot and soil.

IMG_1553 copy

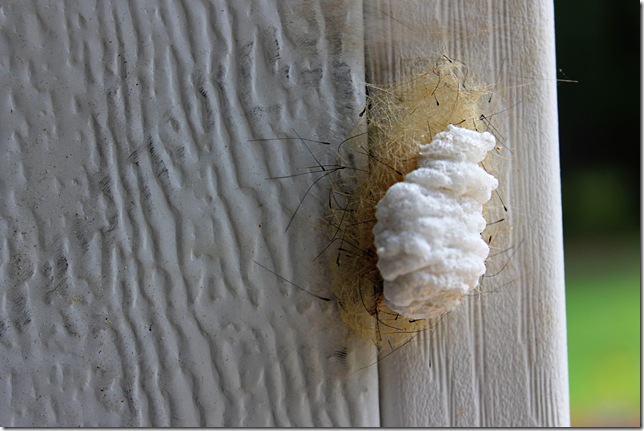
By the way, while I was outside getting my plant together I noticed this attached to the side of my home.  Anyone have any idea what this thing is?!?! I thought maybe a butterfly, but the thing looks like foam!?

IMG_1556 copy

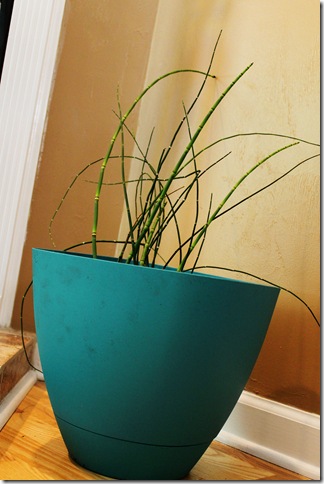
Here she is in her new place.  I love the pop of color it helps bring to the room.  Little man tried to talk me into getting a yellow pot instead of the blue…kind of wish I had but the blue goes more with my “future views” for the living room lightening project.

IMG_1558 copy

I love how the plant has texture and is modern looking.  I like how it is not your typical “house plant”.  I am not sure how the horse tail will survive in the house.  I was told it likes a lot of water and sun.  I try to water it a lot and the living room gets a good bit of sunlight during the day. We shall see, I hope it does survive because I really like it!

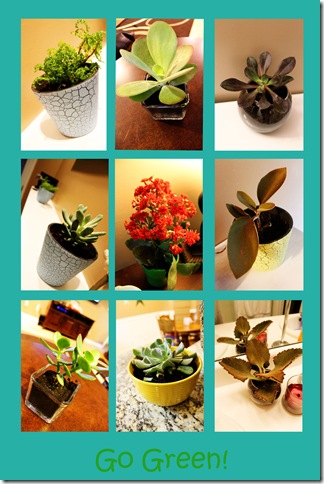
Then Saturday night I went to Home Depot on the hunt for succulents.  I love succulents and how simple they are to maintain.  They do not require a lot of water, nor a big pot.  I was SO happy to find a set of nine different succulents for only $12.  I was really happy with that because they are typically $4 a piece, so pretty good deal.  I wanted to separate them out into small pots and place around the home for some green in every room.  I used votive holders for the pots…turned out exactly how I imagined!  I’m in love with my new babies!!!

Go Green

I just hope I can keep them all alive…and check out the red one.  Did you know they made a succulent that bloomed so pretty?!  I had no idea, this was the only one left at the Depot so I snatched it up pretty quickly.

Tuesday, April 17, 2012

Photo Collage in PSE

I am a very new user to Photoshop Elements (PSE), like less than two weeks. So as I write this quick tutorial please remember I'm a beginner so if you see something that is "wrong" please let me know. This is "my way" on making a photo collage.


I googled how to do it for days and most tutorials were too detailed, confused me, or just didn't interest me after step 6 or 7. So I wanted to do a quick 5 step way to a photo collage for you to use on your blog, website, or photo sharing site.  Hope you can find it useful!


1. In PSE, click file-new, select the blank one with "white" as the background.  Don't worry, you can change the color later. To me the hardest part is knowing what size to make the template. I changed the measurements from inches to pixels and then literally just played around with the numbers until it was shaped how I wanted (square, rectangle, landscape, portrait, etc.) Note: I am not sure if these measurements/pixels will work for for printing these collages, I just make them to use on my blog.

image
2. Add your pictures. Click file-place, select your first picture. The picture will originally post in full size, so then you will need to resize and shape it however your little heart desires ;) once its how you want, then arrange it on your template where you want it to go. Repeat this for all of your pictures.

image

Full size picture

image

Pictures are arranged and sized accordingly.


Note: each picture you add will create a new "layer". So if you have to resize or move a picture you will have to go back to that picture's "layer" and make the changes.


3. After your collage is arranged how you want, now you can change the background color. If you want to keep it white then skip to step 4. Select the color you want, locate the "background" layer and paste.

image


4: "Flatten". I do not know if this step is "necessary" but I did it. I used pioneer woman's "flatten" action to flatten all my layers into one.  (Get her fabulous actions here)

image


5: Save your collage and post!


Again, this is a very basic collage tutorial but you can do so many different variations for you liking.


I hope this is helpful for you!