Friday, January 7, 2011

SMD Pants Set

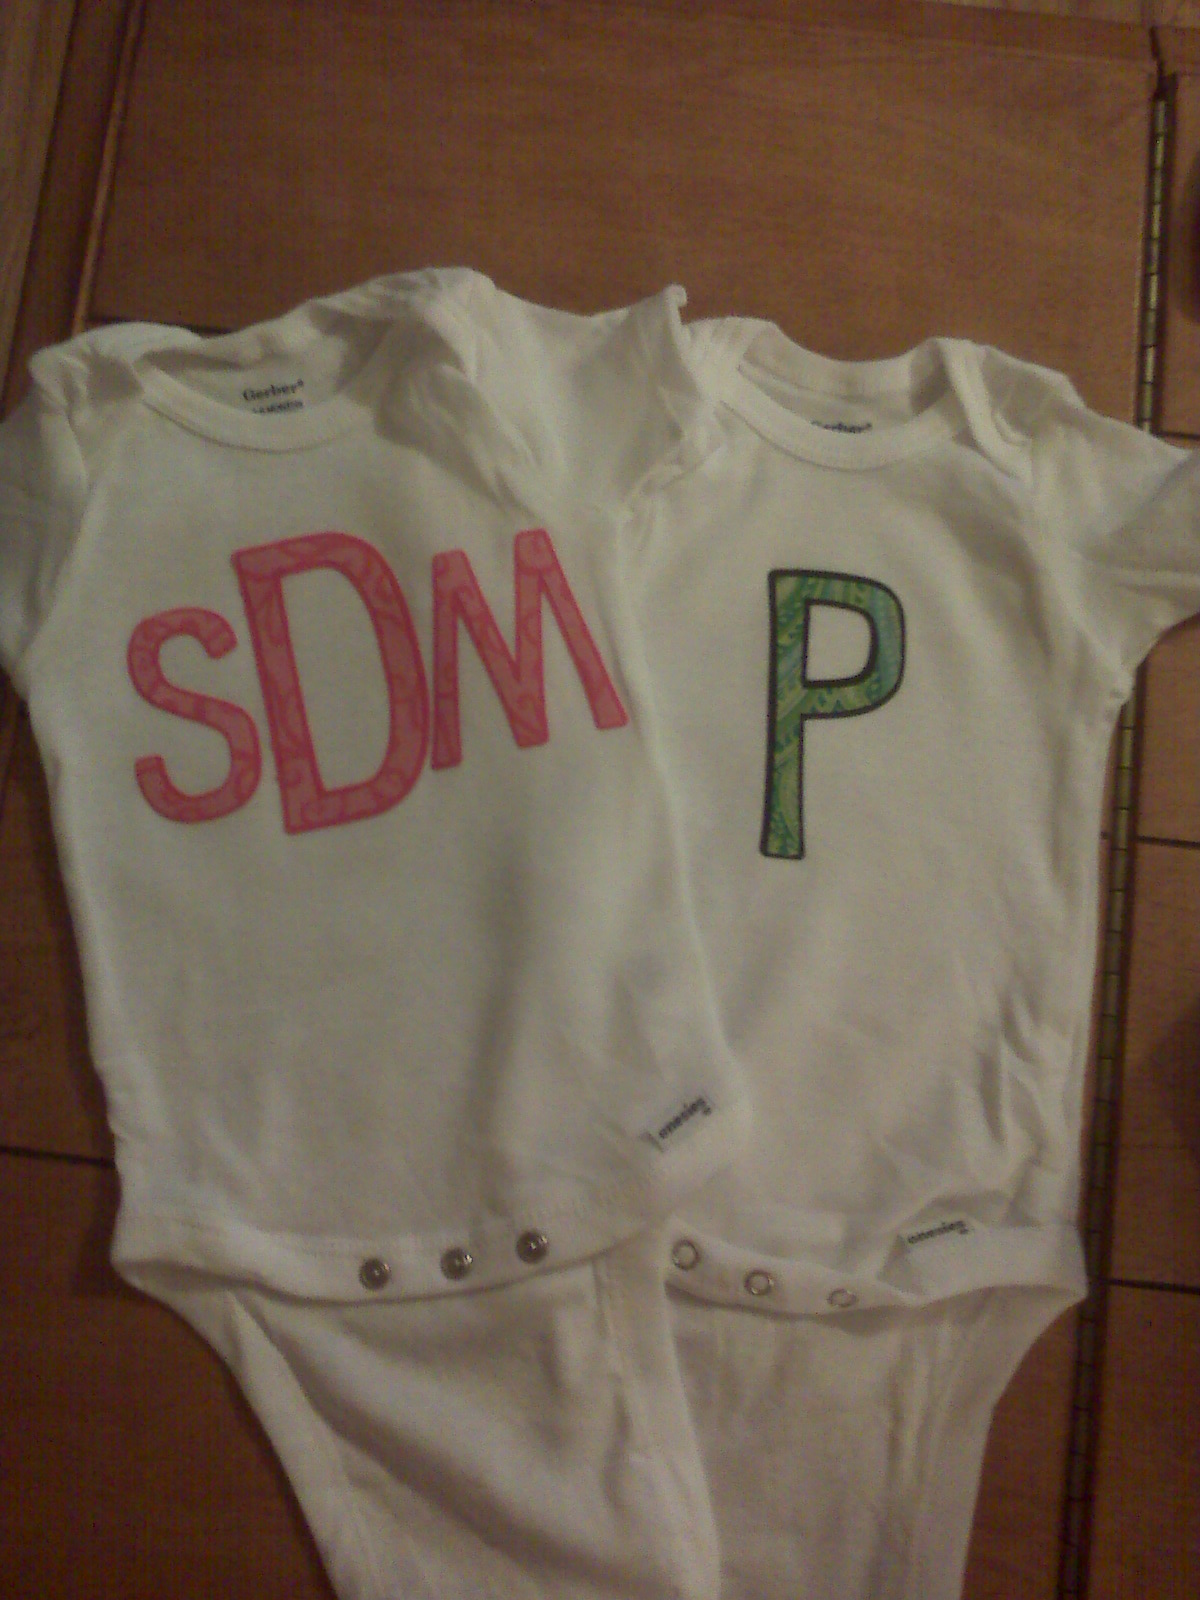
I finally finished Savannah's new outfit. The pants are ruffle pants and the onesie is from my iron-on cut outs post. The pants are actually very easy to make, except the elastic which for some reason has been a difficulty of mine with ALL my projects. First off: get a pair of pants that is the same size as the one you want. You can even use this pattern to make cute comfy PJ pants!! I'm thinking about working on a pair of those for my hospital visit coming up in about 8 weeks! ;) So you lay out the pants with the outer seem lined up along the FOLDED edge of your fabric. The folded edge is the key because that gives you once less seem to sew. *By the way, I am sorry that I forgot to take pics of every single step, I just kept forgetting :( but I will try my best to describe how I did it anyway!*

Once you lay the pants out on your fabric, trace the inseam, top and bottom. Note: in order to get them the appropriate length be sure to add an extra inch to the top and bottom for the hem. After you have marked your patter PLUS your extra inch for the hem at the top and bottom. Cut out two pieces, one for each leg! Also, if you want ruffles at the bottom be sure to cut two extra strips of fabric that are 4" wide (folded in half making a 2" ruffle) and twice as long as your pant leg bottom.

This is my ruffle cut out and my pants cut out.
Next you are going to make your ruffles, if you do not want ruffles on your pants skip the next few steps. To make the ruffles I set my sewing machine to the longest stitch and just ran the fabric through, folded in half of course, with the top stitch selected.
It will come out kind of crinkled.
Then you want to hold the bottom thread and slide the fabric across the thread. You will notice the fabric bunching up. You may even have to go to the other end of the fabric and work towards the middle from both ends.
This is how it should look as it bunches up.
If you are adding the ruffle be sure to take off the 1 1/2" from the bottom of the pants for your ruffle. You want to take off 1 1/2" for a 2" ruffle because you need to leave 1/2" to stitch the ruffle to the pants.
Marking off extra fabric to remove so I have room for my ruffle.
Then you want to attach the ruffle to the right side of the fabric. I found it easiest to attach the ruffle to both ends of the fabric them bunch it up in between to make it more evenly ruffled. If that makes sense...
You can see how there is extra fabric to play with. If you do not want your ruffle big you can cut off extra ruffle and sew it straight to the pant leg.
Now you want to stitch your ruffle on, I just used the top stitch. I also added a top stitch to the right side of the fabric for a "finished" look.
After your ruffle is attached you can sew the pants legs up and leave the "crotch" (is there a better word for that area? haha) part unsewn (is that a word?) for now. After both legs are stitched up, pin the two pant legs together at the crotch and sew them together.
Stitching on the ruffle.
Now you are ready to sew your hem for the elastic waste band. I'm going to be TOTALLY honest, I SUCK at elastic. But I am working on it and learn little by little with each project. I know that you want your waist band to be the same width as the waist in which you are making the pants for. I guess on mine because Savannah is not here yet, which is probably why ts so difficult for me right now. After your hem is sewn, make sure you leave about an inch to feed your elastic threw. Thread your elastic threw with a safety pin. Once your elastic is in sew it shut!
Hem pinned down
Turn the pants right side out and TA DA!! :) I just LOVE them!!!!!!!
Savannah's finished outfit!

Hope I was able to explain the project well enough. I'm still working on pics and better descriptions! :) I'm still searching for that next project...hope you have a great weekend!

Friday, December 31, 2010

Iron-on Cut Outs

This project was so easy and I think it turned out great! So first I want to say that if you don't have a cricut, I'm sorry because I do not know how to make this without the cricut.

First pick out a fabric that you want to use, then choose another fabric that matches. Next you have to decide if you want to make a letter or a symbol of some sort. Then you will need Heat N Bond, its an iron on adhesive. I think you can buy any "brand" but that is the one I found and was reasonably priced. Iron on the adhesive and leave the paper backing on .


Then I took the fabric and put it face down on the cutting mat. I taped the edges of the fabric to make sure it didn't wrinkle up.


Set your cricut to the selection you want it to cut. If you do not have a cricut I think you can free hand cut whatever you desire.


Once you have the fabric cut out then remove the paper backing and iron on the cut out to your shirt. And you are done!

Ta Da!! This was such an easy project...and fun too!


Thursday, December 30, 2010

Cricut Project- Numero Uno (Vinyl Decals)

I got a Circut for Christmas (Christmas post wouldn't post, so I skipped it). In case you do not know what a Cricut is, let me tell you it is AMAZING! I have heard about a Cricut for many months, from many different people, and everyone explained what it was to be differently. I couldn't understand why, well its because this thing is really that amazing and does that much!! It is essentially a cutting machine...on steroids!!! :) I have about nine projects...and counting...on my "Cricut Projects List". The first thing I made was a vinyl decal for my machine.

You can put these dec als on windows, picture frames, or even your walls. I would love to make some for Savannah's room when we get a home.

They are so simple (if you have a Cricut), simply load the machine with some vinyl, select what design you want from the cartridge, and press the cut buttom. The only "work" you have to do from there is be sure the surace is clean before you apply the vinyl. *Warning: don't use any type f solutions to clean the surface with because the vinyl will not stick. Make sure all air pockets are out of the vinyl as well...and you are DONE!! That simple!

Next project on the list: iron-on cut outs for clothes!! Stay tuned...

Frustrated...Good Night Blogger!

Ok...I have promised some that I would have a post about my Cricut projects, our Christmas, etc. However In the past week our laptop was infected with a Trojan virus...YUCK!!! :( I know that I LOVE my laptop and more so blogging in bed...little by little everynight. But now I can't because I'm having to borrow mom and dad's desktop and sit in their office. Let's face it by the time Brody gets in bed, I clean up, get ready for bed, I don't want to sit in the office...but I have devoted my time tonight TRYING to upload my pics and post a entry about our first Christmas. I'm frustrated and cannot figure out how to copy and paste my entry back into blogger from Word and I have given up. If any of you reading my post know how to do this PLLLLLLEASE shoot me an email/message me so I can upload my lovely Christmas post! If not I am going to try to retype it tomorrow.

I also have my first Cricut project post ready to go, but again cannot get it to post.

So here is my promise tomorrow if I get anything accomplished it WILL BE updating my blog!! :) But for now I'm taking my make up off, contacts out...and calling it a night!! GOOD NIGHT BLOGGER :)

Monday, December 6, 2010

~The Most Wonderful Time of the Year~

This weekend was packed with fun, fun, and more fun!! Friday night was family dinner, it was nice and yummy. Saturday we went to Market days (see bottom of post for pics) and I got a lot of awesome things. I hope by next year we will be in our new home so I can do some major damage for decor. This year I did small shopping though. After Market Days mom and I went to the mall, where we did damage on her pocket book which is ALWAYS fun! ;) We got most of her Christmas shopping done though. Then she took me to meet Tee and Brody at Marie Livingston's Steak House for Tee's Nanny's birthday. There was yummy food and lots of laughs with family. While we were there Tee told me that Brody said his first words "bye bye". AAHHHHHH I missed it :( I have to admit that made me a little sad that Daddy got to hear the first words before me....but that's ok at least Tee got to experience the special moment! :)

Brody and Daddy ready for yummy steak, and just to let you know YES BRODY LOVES STEAK!
Brody's Nana and all his cousins (I think that is what they are considered :/ )

After Marie Livingston's we went to the Winter Festival Parade. It was PACKED! I got in a fight with another momma...its true when you have children you become a MONSTER to make sure they have everything YOU want them to have! But it was so special to see Brody's reaction to the lights, sounds, and the whole parade in general. Bless his heart, he couldn't hang the whole time and started getting tired towards the end. I dont blame him, the parade was WELL over 1 hr and half. But he stayed awake, laughed, and kicked his feet the WHOLE time!

Kenny and Kelly even came and Brody had fun watching it with them. We were sad Daddy wasn't there but FSU was playing in the ACC Champ game and they haven't been there in years! We understood Daddy's tough decision but next year Momma will have to have Daddy's help with Brody AND Savannah!


Us and Gammy at the parade

Brody was amazed with all the lights!

One of the things I bought at Market Days was a dog treat for Duke. It had icing and sprinkles...he LOVED it!!!


Sunday we went to Qtown to get Brody's tree and some decorations out of the attic and while we were out there we did Brody's Christmas craft with Nana.

Brody was paying close attention to every step.

This finished product, pine cone Christmas trees! Next year I plan to spray paint pine cones wihtout the ribbon and holly for Christmas decorations. I LOVED them before the ribbon and holly, but they are cute too with it!

The sign was another Market Day find! It's all 4 of our stockings...next year will be FIVE! :)


Another find, to hang on the sign above once we get a house and hopefully a fireplace for our "real" stockings.

Savannah's stocking.
Those are our few decorations in our "apartment" until we can get a new home, its the best we can do. And it is PERFECT for us! This is our favorite time of the year and we are not going to let the material things take that from us. We had a great weekend with lots of fun and festive activities and look forward to our first Christmas with our lil man!!