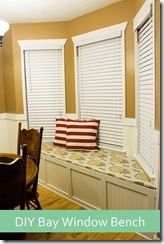
Our bay window has always looked a little empty or lost.
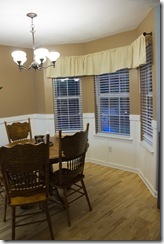
We tossed around several ideas of adding molding or better curtains but nothing stuck with us. Finally one day we were talking about trying to make this our final house and in doing so my hubby said one of his biggest challenges with our home is the lack of storage. Ahhhh-ha!! It was a total light bulb moment for me- a bay window bench. So I immediately started pinning ideas and presented my case to the board (aka my hubs), he was in! Then it began. I started googling for tutorials and videos. I found several but none gave a blow by blow on how to construct this master piece. Hubby did his own research and after about 2 weeks of looking and several conversations about our frustration we decided to just do it! And we did. So for those of you out there in Internet land that are trying to build you a window bench- here is how we did it, hope this helps you!
First: we measured our walls and angels.
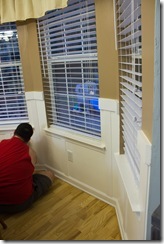
Our suggestion to you is measure the bottom of the and the wall at the height you want the bench. For example, our bench was supposed to be about 20" tall so we measured each wall 20" up and then the length of the wall at that height as well. Then we made a diagram with all of our measurements.
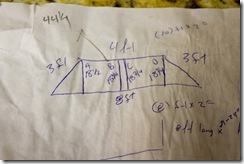
The reason for this is because walls are not straight and squared, although they should be.
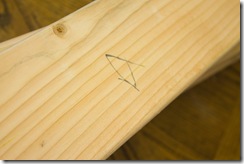
And later, labeled each board to its according wall and spot.
Second: we headed to our home away from home (home depot) and picked up our supplies. There weren't many-
2x4s
MDF
Poplar boards
Decking screws
Caulk
Liquid nails
White paint
Seems like a smile project right? Yea we thought so too at this point!
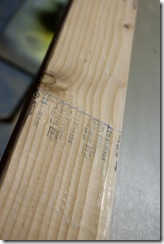
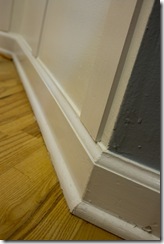
Third: remove all baseboards and shoe molding then frame out the bench.
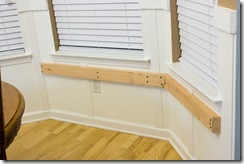
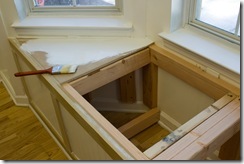
We used 2x4s to frame out the bench by putting one on each wall across the top, one on each wall across the bottom, one in the font connecting opposite sides of the bay window, and braces connecting the front to the back of the bench.
But before the boards could be attached to the wall, we hade to miter little sections out for the poplar boards to fit into, making the board flush against the wall.
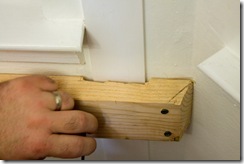
Be sure that each piece is squared and level before securing it into place.
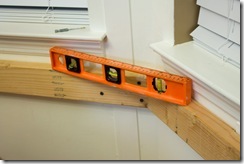
Once we finished the back wall and the front board, it was beginning to look like our vision.
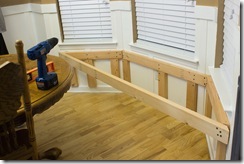
We went over board on the 2x4s because we wanted to make sure that people could sit on the bench without it collapsing- how embarrassing would that be?!
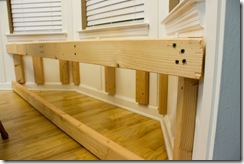
Note- the 2x4s had to be cut at the angels for the bay part. We learned that angels on the back part of the bench needed to be cut at 22.5 degrees.
Then the angles on the front of the bench needed to be cut at 45 degrees to make them flush with the wall.
Honestly the hardest part was figuring out the angles and it is hard to say this would be the same for everyone because all bay windows are different sizes. What we did and we would suggest is take scrape would and practice cutting your angles so you make sure to get them correct before cutting your frame wood.
We used decking screws to secure the 2x4 to the wall and drilled them into studs.
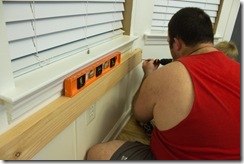
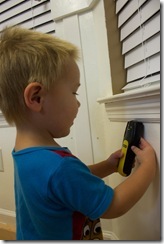
We had some help locating our studs!
When putting the board across the bottom we let it float above the floor.
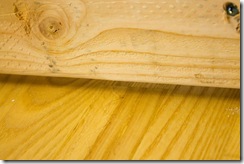
There were two reasons for this. One because we did not remove the baseboard or shoe molding.
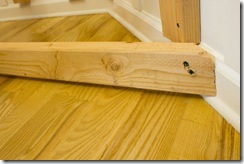
This we admit after the fact was a mistake, it made the project tenfold harder. Which is why we recommend removing those before beginning your framing part. The other reason for allowing it to float was to allow us room to work and we knew in the end the gap would be filled by the molding
Fourth: measure and cut your MDF. The front part was a piece of cake. It was a basic square. If you do like we did and take your measurements before going to Home Depot you can have the nice, kind, and skilled Home Depot employee cut the wood for you. Which is exactly what we did! This way by the time it came to us cutting the MDF we just had to ensure it would fit in the space and nail it in.
We used the nail gun and finishing nails because they are small and can easily be covered.
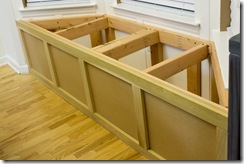
Then came the top.
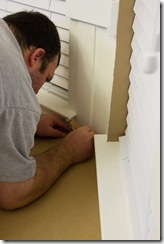
We had the depth and length cut by HD but not the angles.
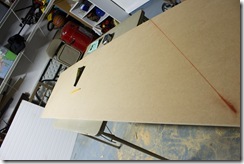
We basically measured the front of our bench and the back of the bench and connected the two lines. This actually worked for us and we were shocked. I'm sure this is not the correct way but it was the best way we could come up with and like I said most tutorials and videos we found said "cut your MDF"- awesome thanks for the help right?!
We attached the top the same as the front, however prior to nailing it down we measured how big we wanted our opening to be and cut it out.
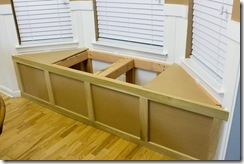
We are still figuring out what kind of handle we want to open and close the lid.
Fifth: we measured and added the poplar board. We decided on 4 small boxes as our design. Hubby actually did this one day while I was at work so I don't have pics but basically just measure how big you want your boxes and cut the poplar board accordingly. This is a preference step so everyone will be different.
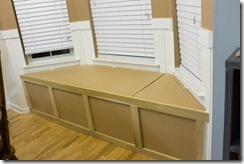
Sixth: when I got home from work hubby ran an idea past me that he came up with. Add breadboard left over from our mud room and babies bathroom to the boxes. I can't vision things so I told him to cut one and let me see- SOLD! I loved it, he definitely found the final touch. He cut the beadboard and we used liquid nails to paste that bad boy up there.
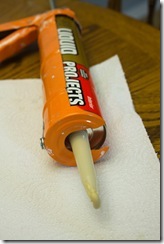
We secured with painters tape til it dried.
Seventh: this was the tedious and time consuming step of caulking the entire bench. I love caulk because it really hides your flaws. It's like the elastic wasted shirt that you wear on your "fat days", you know what I'm talking about!
I literally caulked every single line, nook, and cranie!
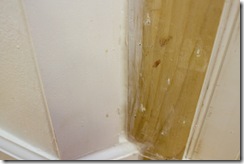
See those spots on the board, they are hubby’s blood. True story, he put his sweat, blood and tears into the bench…so sweet of him!
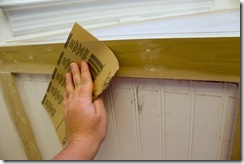
And sanded to get it smooth.
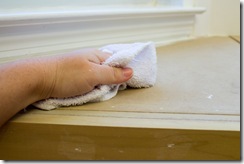
Then had to clean the bench off.
Eight: paint that baby! We went with bright white to paint the bench because we really wanted her to pop! It only took two coats!
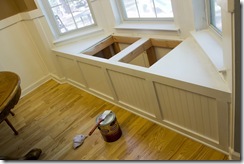
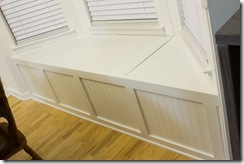
Ta-da! There she is, is that not the most beautiful bench you have ever seen?!
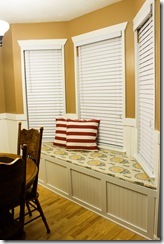
After a week of giving it an hour here and an hour there, she's done. This was definitely a more difficult project than we imagined and it was the perfect ending to our year of projects in our new home. We are done, no really, for the year. It is time to enjoy our babies, family time, football, fall festivities, holidays, fall food, and ourselves! I can't imagine a better way to wrap up the year's projects than this beauty!
We do have visions for next year, however I'm not sure if any of them will pan out but just a tease, here's some dreams of ours for next year-
New appliances
Crown molding
Master bath Reno
Thick baseboards
Repaint kitchen cabinets
Upgrade laundry room
Who knows we may complete any of those!
P.S.
All the technical directions and measurements are all by the hubby in our effort of trying to get a good tutorial out there for future bench makers! After reading this post I realized, it sounds like I really helped out...I didn't! I'm the designer, photographer, painter, and caulker of the team! He definitely does all the hard work!
Also, our framed windows tutorial and my DIY bench cushion tutorial will be up later this week if you are interested!
![]() Thank you everyone that made my birthday party special.
Thank you everyone that made my birthday party special. 