Thursday, May 24, 2012

My Heart is in Florida

Meghann sent me a picture of what she called “string wall art” she made…I never heard of it. She did Florida with a heart in it, swoon, I fell in LOVE! I was so eager to get to the weekend and make one for our home. She sent me the inspiration she got from Pinterest and I began googling the heck out of “string art” to get ideas and figure out how I wanted to accomplish mine.

I am really, REALLY, bad at reading directions or tutorials or following any type of instructions. I’m one of those, I will figure it out as I go, kind of people. This is ok for most projects I do, however this one was a bit more challenging and AFTER I started the project I realized that I probably should have read the tutorial.

First I took another piece of that wood I got from Lowes, and I distressed the edges and corners making it more round. Same as I did here with the chalkboard. *Side note: I paid $6 for the entire board and asked the nice man at Lowes to cut it in three pieces for me. He measured it, made the lines markings, made sure everything was lined up and cut me three pieces from this one piece of wood. Awesome…until I took it to the cart and realized they were ALL THREE different sizes. Guess it didn’t really matter, but it was pretty funny to me that he took the time to measure, mark, re-measure, and cut for them to still not be equal. I mean he could have saved about 15min and just cut the dang things. Moving on…

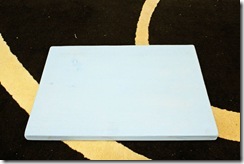
Next I painted the board a pretty light blue color.

IMG_3422 copy

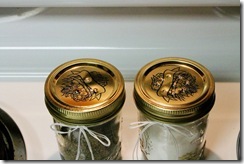
While waiting for it to dry, I made salt and pepper shakers.

IMG_3425 copy

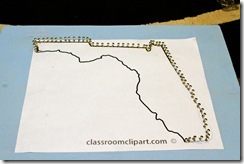
Then it was the tedious work of nailing approximately 260 nails into one piece of wood. This is where reading the tutorial would have been beneficial.

IMG_3427 copy

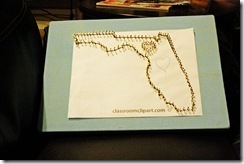
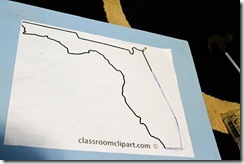
I laid the piece of paper on the board and nailed along the outline of the state. Then the outline of the heart. As hubby is in the background “how are you going to remove that paper” and I respond “oh I’m sure it just pulls off”…it didn’t! The tutorial says, and I suggest, cutting your state out, and the heart, then put the nails around the paper then you can just remove the paper after all the nails are in…that makes so much sense!

IMG_3438 copy

Side note: Hubby and I spent a great deal of time debating over the nails to buy…again I did not read the tutorial. These are the ones we got and I recommend them because there is a good head to keep your string from slipping off.

Then it was time to string. I recommend making your heart bigger than mine, again suggested in the tutorial, because then you wont have to string the same nail so many times.

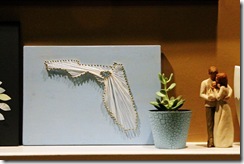
And finally, she’s finished. I am really happy with how it turned out and I cannot wait to hang it up. I love how the blue really contrast with our walls and I love that it represents who we are and where we are from.

IMG_3446 copy


P.S.

Lessons I learned: read your tutorials and instructions. AND it DOES matter where the heart goes, according to hubby you do not want your “heart in gator country (Gainesville)” but you have to be able to string to it. I had to move my heart northwest from its original location because it was too close to Gainesville. Sorry to my gator friends and family reading this, its how us Noles think!
Wednesday, May 23, 2012

Shake it For Me!

When we unpacked our kitchen on move in day, we noticed that our salt and pepper shakers were ruined. We emptied them when we packed them up and we even wrapped them in paper towels, but they still rusted and the salt left the metal all yuckie while in storage. So we had to toss them on move in day. Since then I have been using salt straight out of the bottle, and causing my family to pucker up every time they eat…while we have been on the hunt for new shakers.

DID YOU KNOW!? How expensive salt and pepper shakers can be? It is absolutely ridiculous, in my opinion. So, we never bought any. Then this weekend, I was reading through my list of blogs and saw a picture of mason jar salt and pepper shakers…score!

I didn’t click the picture to track down the blog because I honestly did not think I would have time to get to this project this weekend along with the many others I was working on.

But while I was waiting on paint to dry…I decided I would grab some mason jars from the corner of the garage and start poking holes.

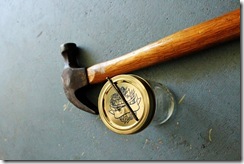
The first ones I made I used big nails…make it a note that you need small nails. I would use like little finishing nails.

IMG_3417 copy

I poked three holes in the pepper one and about seven in the salt one.

IMG_3437 copy

After I took them inside and washed them, I tied a cute little bow on them and filled ‘em up!

IMG_3436 copy

I love how they turned out and FINALLY we have salt and pepper shakers. Total cost for this project= $0!

Tuesday, May 22, 2012

Chalkboard Chunk-O-Wood

I have wanted a chalkboard in the kitchen for a while. I have been contemplating on painting the end of the cabinets with chalkboard paint or buying a pretty frame and making one that way. But neither of those ideas ever became reality. I was worried about teaching the babies “bad habits” about writing on the end of the cabinets, how would they know that it chalkboard paint?! I did not want to buy a pretty frame because that would probably cost a pretty penny and the kitchen does not really have space for a big pretty frame. So I was in Lowes this past weekend and it hit me- a chunk-o-wood! I picked one up, took it home and got started.

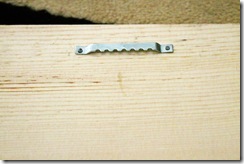
First thing I did was attach a picture hanger to the back of the wood to hang it with. I actually had hubby’s help with this because he’s amazing like that!

IMG_3405 copy

At first we tried this string style picture hanger. 

IMG_3407 copy

Attaching the string to the board.

IMG_3411 copy

After hubby went through the hassle of putting the picture hanger on the board we realized that it will not work because of the weight and length of our board.

IMG_3415 copy

So we had to change plans to use this style picture hanger.  If you are doing this project, we recommend this style picture hanger.  It is more stable and really works best.


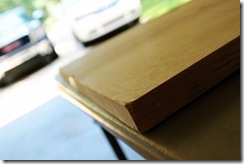
Then, I distressed the wood. But unlike distressing wood to make it look old, I just took a hammer to the sides of the wood and its corners. You want the “chalkboard” part to be as smooth as possible for writing.  My object for “distressing” the wood was to make the corners and edges more rounded.

IMG_3416 copy

Then I began painting it with chalkboard paint. I have heard that you can make your own chalkboard paint, but I didn’t do that. I wasn’t feeling that crafty!

I painted three coats because I wanted a good smooth surface. Then I took chalk and “roughed” it up a little bit.

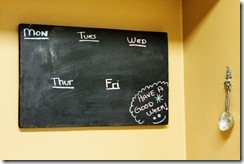
After all was said and done, I wiped her clean with a damp clothe and sat up the weekly menu.

IMG_3431 copy

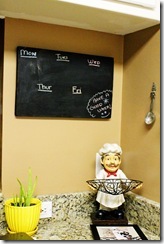
I am really happy how it turned out. It was a super easy and super inexpensive way to add something to the kitchen. This space needed one more thing and my chalkboard chunk-o-wood really did the trick.

IMG_3430 copy


P.S.

No I did not take the time to actually plan out our weekly meals this week…by the time I got done crafting I was ready to hit the sack. But I promise you we are eating this week!

Monday, May 21, 2012

Weekend Wrap Up

This weekend was a blast, we started by having our monthly date night Friday. Hubby wanted to see the new Battleship and I was very reluctant. To my surprise, it was great! I did not care for the aliens too much as most of you know I am slightly afraid of those funky looking creature like things that live “out there”. Yes, before we go any further, I believe in aliens and I am terrified of them. Thanks to that ridiculous little movie that came out when I was young, ET. Ugh, just the thought about me typing this makes my skin crawl. Anyway, back onto the movie. It was really good. I enjoyed it and although I about ripped hubby’s arm off a time or two during the alien scenes, I would like to see it again.

Then on Saturday we headed to the farm to pick up the babies, swim, and begin my projects.

IMG_3293 copy

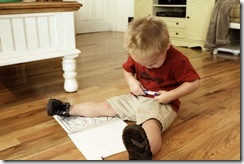
First thing we did was a little coloring.  These markers were well deserved for this little boy.  I am not gong to tell that story here, but I may do a separate post about it later.

IMG_3299 copy

Then Papaw and Nana made homemade ice cream.  While we waited for the ice cream to finished, we took a dip in the pool.

IMG_3307 copy

IMG_3314 copy

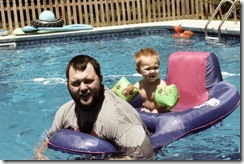
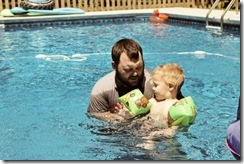
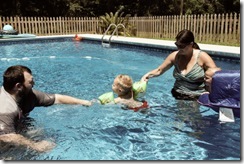
Little man worked on his swimming skills with daddy and nana.

IMG_3317 copy

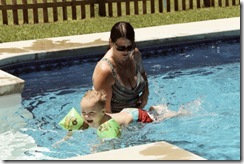
He is getting really good about swimming.  He is now trying to go under water and we are trying to teach him how to hold his breath.

IMG_3329 copy

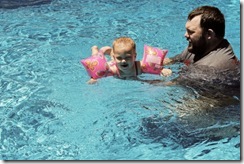
Babygirl wanted to give it a shot too.

IMG_3330 copy

IMG_3333 copy

They always enjoy the water so much, I just cannot wait til they know how to swim better where I don’t have to worry the whole time about them.

IMG_3336 copy

Watching the babies swim.

After our dip in the pool we went across the street for a little family cookout.

IMG_3342 copy

IMG_3347 copy

This picture will probably NEVER happen again, I had to get a picture to prove they DO love each other and can be sweet to one another.

IMG_3352 copy

Watching the grill…he’s thinking “are those burgers done yet”.

IMG_3355 copy

IMG_3361 copy

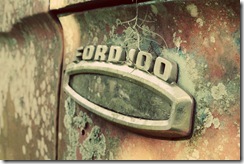
I always LOVE taking pictures across the road at the farm house.  It’s the old rustic country look that I adore.  So I had to play around a little while we were over there.

IMG_3363 copy

IMG_3367 copy

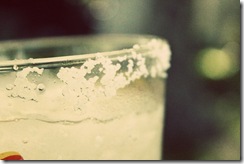
Ok, this is not old or rustic, but the salt made a cool picture.

IMG_3371 copy

Finally time to eat!

IMG_3376 copy

IMG_3377 copy

Can you guess what this is?

IMG_3387 copy

IMG_3378 copy

Not just a chicken…but a one legged chicken.  A fox tried to get it out of its cadge and pulled its leg off.  Pretty amazing that it survived…AND lays eggs!

IMG_3385 copy

Puppies!


We had a great time as always.  Hope your weekend was fabulous!!

Craft Packed Weekend!

Happy Monday!! We had such a great weekend. I'm sad it's already over. Back at work and ready for Friday to get here, beach this weekend!!

So Friday kicked off my weekend with a bang, it was date night! Hubby and I try to do this monthly, special time just for us. We went to a movie this Friday...like the old dating days :) we saw the new battleship movie. I was not looking forward to it, at all actually. But I thought if the movie sucked that was ok, I could curl up on hubby's shoulder and take a nap- which is what I typically do during a movie. But this time was different, I actually got into the movie. It was good! I'm surprised I liked it as much as I did, but I wouldn't mind seeing it again! We ended date night like we always do, a trip to Wally world! lol we do it up right y'all! ;)

Saturday was spent starting my many craft projects I planned for this weekend. We also headed to pick up our babies from the farm.

Sunday threw us a curve ball. My disclaimer- owning a home is not always glorious! Saturday we got home to a broken front door knob. Two trips to lowes, several choice words from hubby, and 3 hours later it was all better. But that meant hubby couldn't go to work- darn! ;) he was pretty upset because it was not the way he wants to use his leave. I wrapped up my crafts and spent time cleaning up the house.

Overall a perfect weekend! I have posts coming this week explaining how I completed my projects, and pretty pics of my babies from their trip to the farm! Until then I leave you with my finished projects for you to drool over ;) I'm pretty proud and love each of them.

Hope you have a great week!

Tuesday, May 15, 2012

Mother’s Day

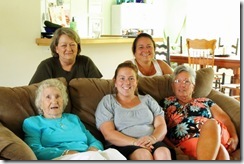
This year’s Mother’s Day was bitter sweet for me.  I have everything in the world to make me the happiest Momma in the world, but unfortunately I was not able to spend my Mother’s Day with the one who made me a momma and that really stunk!  Sad smile  But that is ok because I did get to spend it with those who call me momma and make me so very proud to be the momma I am.  I was excited about Mother’s Day this year because I not only got to spend it with my babies, but I also got to see my momma, her momma, and her momma’s momma.  So our day started off with a bang at Gammy’s we got their bright and early.

IMG_3044 copy

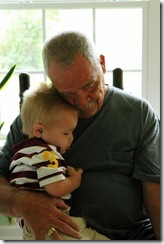
First thing little man did was share some loving with his Pepa.  So sweet.  One thing I can pat myself on the back for as a momma is teaching my babies to give lovies. 


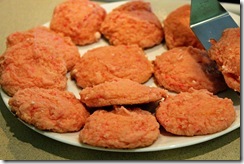
My momma made pink lemonade cookies…nope I’ve never heard of them either but let me tell you they were so very yummy.  And they looked pretty too!  Gammy made the babies two special cookies, we will see those a little later…
IMG_3053 copy

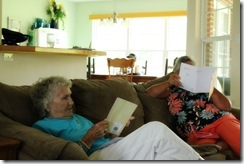
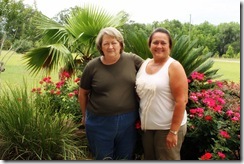
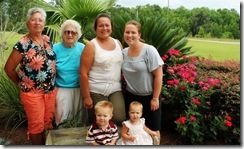
My great grandmother was able to come, she is amazing.  I can only hope that I live in her foot steps as a mother, grandmother, great grandmother, and great great-grandmother.  How awesome is it that she is able to see five generations of females in her family…such a blessing!

IMG_3055 copy

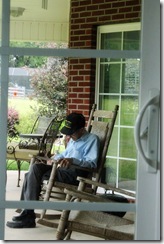
My dad’s momma was also able to stay on Sunday and join in the festivities with us too.  Normally when she comes she has to leave pretty early to get home in time to get ready for work, but she was able to stay later this Sunday and I am so glad that she did. 

IMG_3064 copy

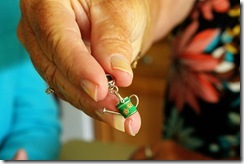
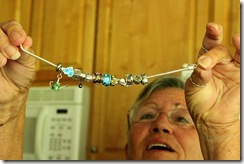
My Mema got her momma, my nana, a charm for her bracelet.  We agreed not to do gifts for each other, however my great grandmother is like a child on Christmas…she loves opening gifts.

IMG_3074 copy

IMG_3077 copy

When Nana and Johnny come to visit, Johnny spends most of his time like this.  However my Nana cannot stand to let him sleep but I was able to get a picture before she went outside to wake him.

IMG_3078 copy

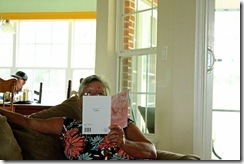
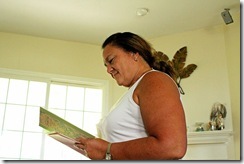
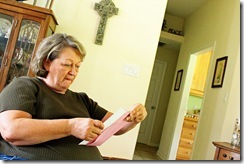
We all opened our cards while the babies were  getting their rest to give us ALL a run for our money later in the afternoon.

IMG_3080 copy

IMG_3083 copy

IMG_3084 copy

IMG_3086 copy

IMG_3097 copy

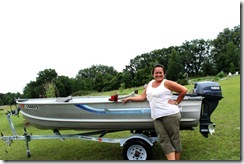
I’m so proud to be a Momma in a family full of amazing mothers to give me the best role models.   We also played around with my camera some, and went outside to snap some pictures.  It’s not everyday that five generations exist so we like to take pictures every chance we get.  Momma had to how off her and Dad’s new toy…a little boat!!  I’m so excited about it, I can see little man fishing with his Pawpaw now.

IMG_3100 copy

IMG_3102 copy

The men folk slipped away to play with the boat while us ladies played with the camera.

IMG_3103 copy

IMG_3106 copy

IMG_3112 copy

IMG_3120 copy

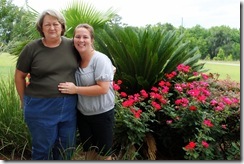
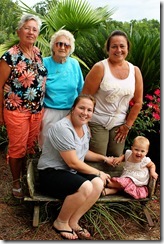
Five generations strong…can you see the resemblance?  I can.  It’s fun to me to watch my momma and then watch my mema and then watch my nana…we are all just alike.  So if you ever wonder what I will be like 21 years from now look at my momma, and her in 21 years look at my mema, and so on…Smile

IMG_3123 copy

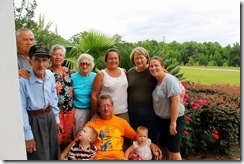
I was able to trick the men into getting in the picture real fast to get a group shot.  I learned next time I set a timer to use the auto mode and make sure I am in focus…hey I’m still learning that fancy shmancy camera!

IMG_3126 copy

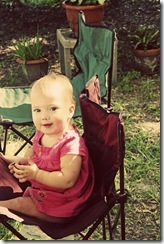
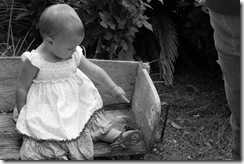
We are in trouble with baby girl, she is prissy, she is bossy, she loves the camera, she is absolutely adorable, and she knows it!  She got up on that bench and started posing and smiling and talking, I bet ya I took 50 pictures of her sitting there if I took a one!

IMG_3127 copy

IMG_3128 copy

IMG_3134 copy

IMG_3135 copy

IMG_3136 copy

IMG_3137 copy

Little man on the other hand, does not care too much about pictures and could care less if I get one picture of him actually looking at the camera.  So this is the best brother/sister picture I got.

IMG_3139 copy

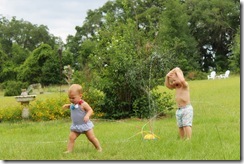
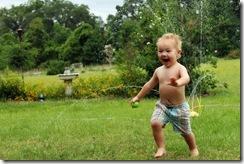
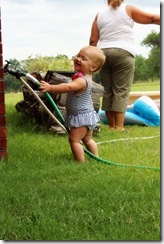
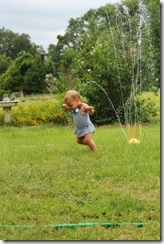
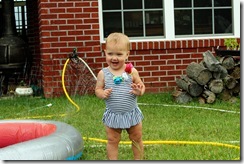
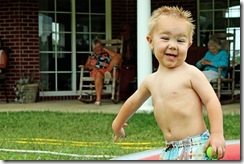
Then it was time to play in the water…boy did they love it!  I love taking pictures of them having fun so I took a lot of pictures here too.  It’s so much easier taking pictures of children having fun than to try to pose them, at least that goes for my babies.

IMG_3149 copy

IMG_3159 copy

IMG_3168 copy

IMG_3169 copy

IMG_3174 copy

IMG_3178 copy

IMG_3188 copy

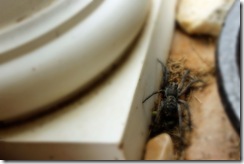
Little man moved one of Gammy’s plants and this HUGE spider was there.  He said “bug momma, ewww”.  It was seriously the biggest spider I’ve ever seen.

IMG_3192 copy

IMG_3206 copy

IMG_3208 copy

IMG_3210 copy

IMG_3221 copy

IMG_3223 copy

The adults had such a great time watching the babies play…it’s always very entertaining!

IMG_3228

IMG_3229 copy

IMG_3232 copy

After playing in the water for a while it was time to put down some cupcakes…no worries baby girl had that covered.  The child LOVES cup cakes, don’t judge her.  She can’t help it.  She gets it natural from her momma.  And yes, I would say she’s a fat kid like me when it comes to that but…between me and her we put down about 6 MINI cup cakes.  I had to include MINI in there because that basically means we had two…that’s not too bad right!?

IMG_3234 copy

IMG_3247 copy

IMG_3248 copy

IMG_3249 copy

As it the cup cakes were not enough sugar, we also had to eat Gammy’s special cookies before we left.  They were giant lemonade cup cakes with M and Ms on top…that’s what grandmother’s are for right!?

IMG_3252 copy

It was a fantastic Mother’s Day, besides it being without my hubby.  I could not ask for better babies and they could not make me any happier.  I am truly blessed!! 


I hope your Mother’s Day was fantastic as well.